Creation Of Config Items
Sam Murray
Creating Config items allows for a much more granular level of control over the specifics of the items you wish to list, while lowering the number of individual items you may need to create to cover all permutations of each item type.
To create a Config Item Type, navigate to Admin > Catalogues > Items and then choose New Config Item from the right-hand panel. This will present you with the options below. These options are to create the base item you wish to work from. In the example we use, this create a basic shirt with little in the way of customisation.
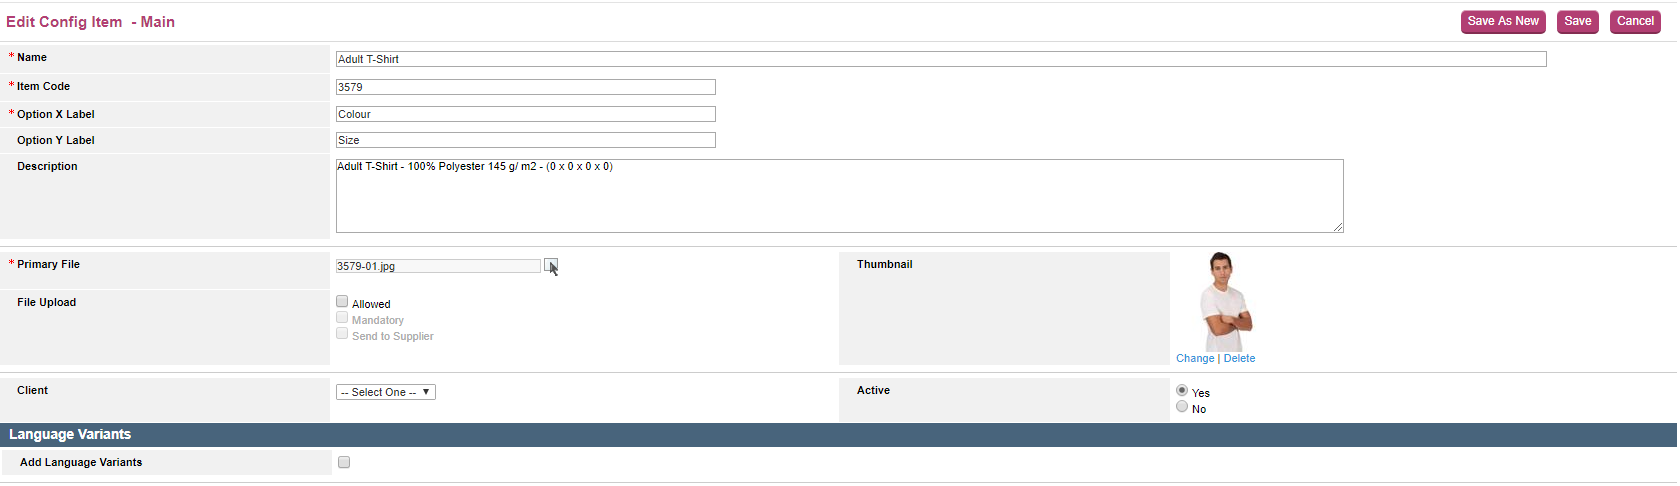
Here you will find options to name the item, to assign an item code, add 2 option labels which will dictate how the items will be differentiated, along with a description. Also, you will be able to upload a Primary File, this file will be the default option shown for this item within each catalogue.
You are also able to set an alternative thumbnail for displaying within catalogues, whether file uploads are allowed, whether this item is restricted for use on one particular client and whether the item is set to active or not. Also, you are able to choose whether there are language variants linked to this item.
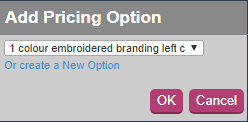
Once you have finished this stage, you are able to begin setting pricing options for this item. The pricing option designates how much the item will be listed for based around the materials you will attach to it. You will choose the pricing option type before selecting materials.
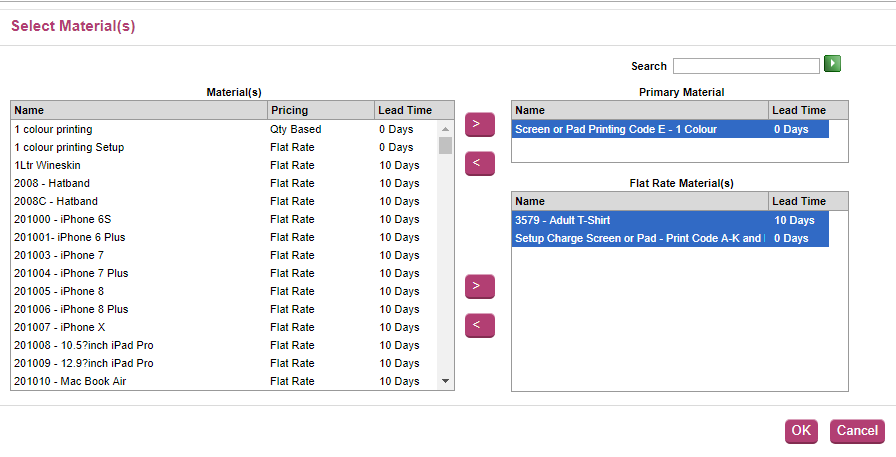
From the material picker, you will be able to choose bothj the primary material (which can be either Quantity Based or Flat Rate) along with additional flat rate materials that go alongside this.

Once you have made your choices, you will be able to choose additional pricing options, set the quantity of each flat rate material per primary material as well as selecting which item pricing option is the default, which is mandatory to proceed by hitting Save.
Once you have completed this setup process, you are ready to begin harnessing the power of the config item type. Choose the option of New Sub Item to begin creating the variants of the item you just created.
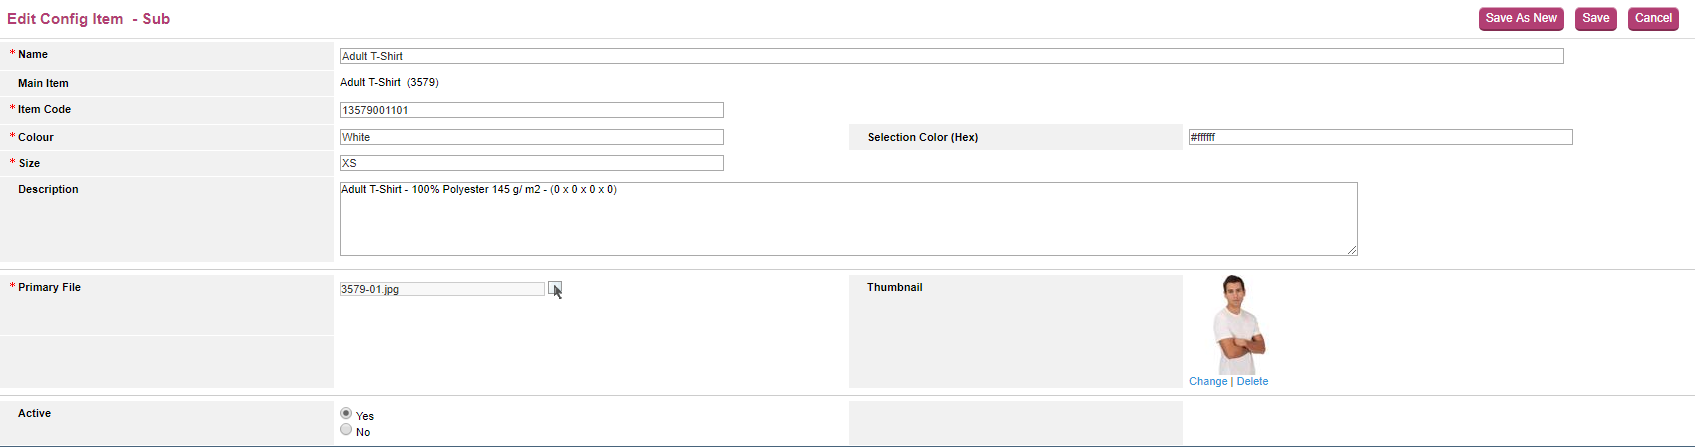
Here you will be able to set the name of this variant, a standalone item code for this variant and you will see the data you filled in under the 'Option X & Y Label' when creating your main item. Here you can specify which type this variant relates to, as you can see we have chosen a White and Extra Small item here. You will also be able to choose the colour of the dot shown next to this item by inputting a hex value here. This can signify the colour of the design at a glance.
You will also be able to input a description (in case it is different to the default item), the primary file for this variant, a thumbnail for it and whether this variant is active or not.
Once you have done so, you are ready to add this item and all of it's variants into a catalogue to be used.
Comments
Have more questions? Submit a request