Setting Up Groups
Sam Murray
In order to manage adding specific contacts or teams into a Client's jobs by default, you are able to use the concept of Groups held under Address Book.
To create a new Group, simply navigate to Address Book -> Groups.

Once here, click New on the right-hand side of the page to create your new Group. You will then be greeted with this screen.
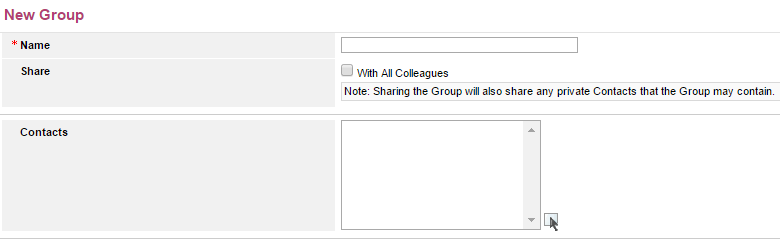
You can choose the name of your Group, whether this Group will be shared with all colleagues or not (by not sharing this, the Group will only be visible to Admin users) and add the contacts you wish to include in by clicking the button with the cursor & box on.
Once you've added the contacts in and Saved, you will be able to assign this Group to a Client.
You will be able to do this by navigating to Admin -> Relationships and then choosing your intended Client there.

Once there, click into the Client you wish to select, hit Edit on the right-hand side and then add the Group you have created under the Default Group option.

Once you have added your Group to this Client and Saved, all future Jobs created under this Client will automatically have the contacts contained within the Group added to the Job Team.
The use case of this would be to ensure that certain members are always allowed access to their Client's Jobs, even when they are set to Private, via their automatic insertion to all of this Client's jobs.
This can also be used to ensure that contacts which you only wish to be linked in for certain situations are able to be kept partitioned as and where you need them to be.
Comments
Have more questions? Submit a request